Blog
Helpful information from our Solutions Center.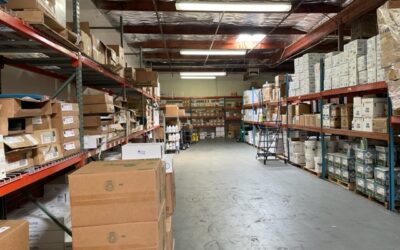
Tired of Janitorial Backorders? What’s Happening in Your Phoenix Backyard
The 30-Second Teaser: If you run a commercial cleaning business in the Phoenix East Valley, your supply chain is likely under fire. Between a prominent local supplier recently closing down and a massive corporate merger between national giants, local cleaning squads...

The Work Behind a Cleaner Facility
A family business. A long-term commitment. A standard we carry forward. At Advance Champion, we’ve never really thought of ourselves as a “supplier.”We’re part of how facilities run. That goes back a long way, before Kevin and I were running the day-to-day, before...
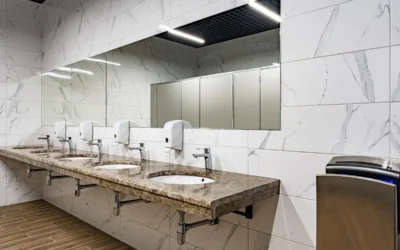
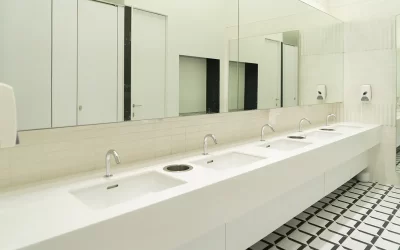
The Hidden Power of a Clean Restroom: Why It Shapes Customer Perception and Loyalty
Since the pandemic, standards of cleanliness have permanently shifted. Customers now judge businesses not only by their food, service, or atmosphere but also by the state of their restrooms. In many cases, a single neglected restroom can erase an otherwise positive...
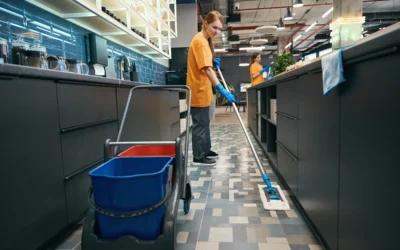
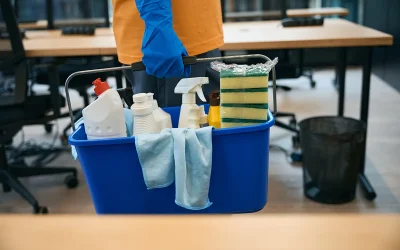
Good Ergonomics Help Prevent Workplace Injuries in Cleaning Teams
In the commercial cleaning industry, frontline staff are critical to facility health and safety, but they also face physical risks on the job. Repetitive motions, heavy lifting, pushing or pulling equipment, and awkward body positions can strain the body and lead to...
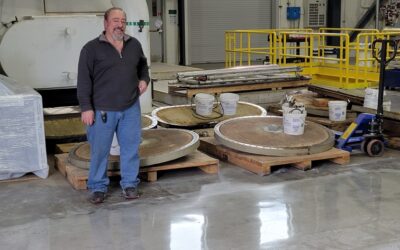
Celebrating Peak Supply’s Legacy While Supporting Customers Through the Transition
For many years, Peak Supply has been a trusted partner to businesses throughout our region, offering reliable products, friendly service, and a genuine commitment to helping organizations operate smoothly. As they officially close their doors and enter a well-earned...

Preparing Your Business for Cold and Flu Season: A Guide to Keeping Your Workforce Healthy
As temperatures drop and cold and flu season approaches, businesses face a predictable challenge: increased employee absences, reduced productivity, and the potential spread of illness throughout the workplace. However, with proactive planning and the right...
Experience Matters in Janitorial Supplies and Services
When it comes to maintaining a clean, healthy environment, whether at home or in a commercial facility—experience makes all the difference. Is it worth knowing that the person you’re working with has the expertise to guide you toward the right solutions for your...

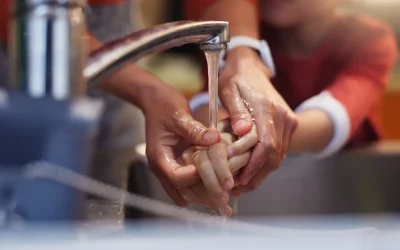
Hand Hygiene Reality Check: Americans Struggle with Basic Handwashing Habits
Despite growing awareness about the importance of hand hygiene in preventing illness, a new report reveals concerning gaps in American handwashing practices. The findings highlight a troubling disconnect between what people know about proper hand hygiene and what they...

The Great Hand Drying Debate: What Facilities Need to Know
When it comes to hand hygiene in commercial facilities, the choices you make about drying and sanitizing can significantly impact both user experience and health outcomes. Here's what facility managers should consider when selecting hand hygiene solutions. Air Dryers...

Shining Through Summer: Get Your Facility Back in Shape with Expert Supplies and Support
Prepare Your Business for Summer Success with Proven Products and Guidance from Advance Champion Supply As summer approaches in Arizona, we prepare not only for the soaring temperatures but also for the seasonal opportunities that come with it. While staying hydrated...

Enhancing Hand Hygiene Accessibility in Public Restrooms
Maintaining proper hand hygiene is essential for preventing the spread of germs and ensuring public health. However, various obstacles can hinder individuals from effectively washing their hands in public restrooms. At Advance Champion Supply, we recognize these...
Flu Virus Update and Recommendations
Information on the importance of handwashing In late January PBS news reported that doctor’s office visits driven by flu-like symptoms were higher than the peak of any winter flu season since...
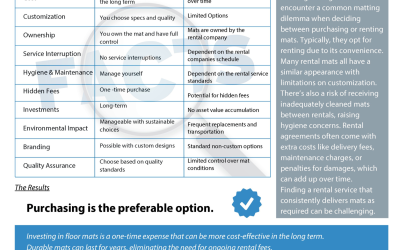
More About Mats – Rent or Buy?
We recently presented information about floor mats and their value. Click here to read that post. When deciding between renting or purchasing floor mats for high-traffic buildings, it's essential to weigh the costs, maintenance, and quality considerations. Cost...

Advance: A Family Legacy in Smarter, Safer, and More Effective Industrial Cleaning Solutions
For over six decades, Advance Paper & Maintenance Supply - Champion Janitorial Supply has remained at the forefront of industrial cleaning innovation. Since our founding in 1958, our family-owned business has been dedicated to developing solutions that not only...
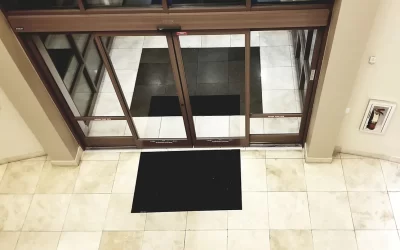
The Importance of Mats and Matting in Arizona
When you think of Arizona, mats and matting may not immediately come to mind. However, whether you’re in the snow-laden northern part of the state during winter or the dust-prone, rain-soaked southern regions, mats and matting play a crucial role in maintaining safety...
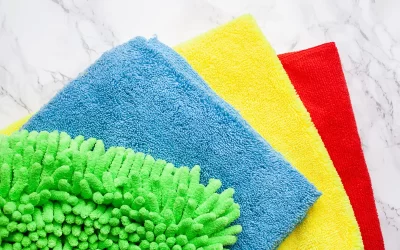
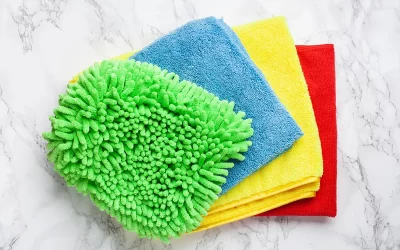
The Benefits of Cleaning with Microfiber
The global microfiber cleaning cloth market is projected to continue to grow by double-digit numbers for years to come. The growing trend toward sustainable cleaning practices and the awareness of eco-friendly preferences is a driving factor for the microfiber...
Unlock the Secrets to Better Cleaning with Advance Champion Supply
Are you confident you’re cleaning effectively? Or do you sometimes wonder if there’s a better way to tackle stubborn stains, improve efficiency, or achieve that next-level shine? Whether you’re a self-proclaimed clean freak or you know someone who is, there’s no...

Bleach and Mold: The Urban Myth
Mold in a kitchen or bathroom are common instances in many homes and businesses. How to avoid this is sometimes tricky because of the moist environment. Bleach is a powerful oxidizer and can sometimes sanitize non-porous surfaces of certain microbials. When you...

Gratitude in Service
As the holiday season approaches, we all feel the pressure that comes with the busiest time of year. But amidst the hustle and bustle, it's essential to pause, reflect, and embrace the spirit of gratitude. For those in the cleaning industry, this can be a time to...

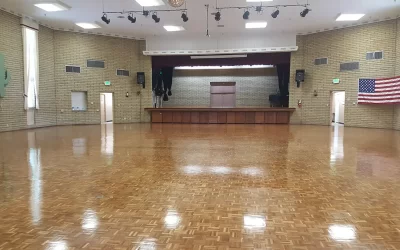
Save the Floors!
Floor care and maintenance can be costly. In a school classroom there is constant back and forth and pressure that is put on the chair feet. Over time this constant action will have a negative impact on the floor, the way the floor looks and the overall image that is...

It’s the Little Things
Sometimes it’s the little things we forget about. Things we think we don’t need until we have an accident, or almost an accident. Think about how safe your bathroom is. Looking particularly at the shower/tub area. Do you use the shower/tub area every day? In Arizona...

Life Is More Than Business
Life hands us a great deal of learning experiences. How we treat each other is one of them. When we have elderly that need care, or just company, lets not forget they probably have had to do the same thing when they were younger. We need to have compassion and...
Making Easy Work of Summer Cleaning Projects
For schools and universities summer work projects require a great deal of time and resources. Stripping and recoating of tile floors, deep cleaning of tile and grout and deep cleaning of carpets are usually done during the summer months when campuses have less traffic...

Cleaning Solutions. Trusted Partners.
When people come to our cleaning solutions center, they don’t come to window shop. People come to our offices to get solutions to their problems. We at Advance are problem solvers. No matter what issue the client has, we will listen to their concerns and provide...

66 years in Business and still kicking…
Hello, I’m Marc De Rosa and I have a family business that has been in the Valley (Mesa and Gilbert) for 66 years helping businesses and institutions keep their places clean, healthy and safe, while also improving their image to their prospects, customers and...
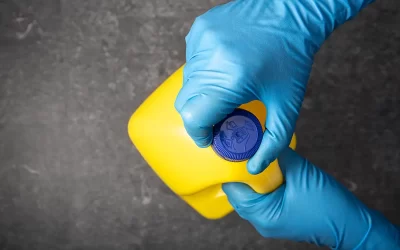
Mixing chemicals, a BAD idea.
A recently published incident by the International Maritime Contractors Association highlighted the dangers of mixing chemical solutions. In the particular incident a cleaning worker on a tug boat mixed two cleaning solutions and experienced serious toxic exposure to...
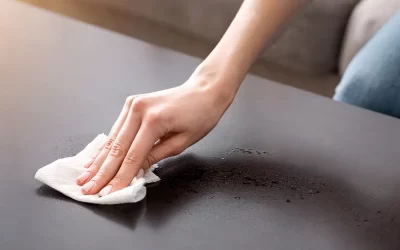
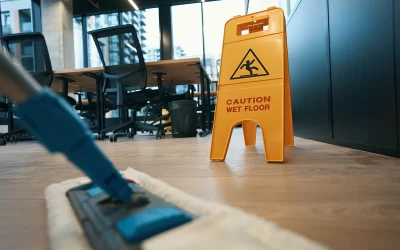
Maintaining a Hygienic Workplace: Daily Cleaning Tips for Businesses
A clean and well-maintained workplace not only promotes a positive image but also contributes to the health and well-being of employees and visitors. In this article, we will explore essential daily cleaning tips for businesses to ensure a hygienic and welcoming...

Clean Spaces on Mental Well-being
An original blog post from IPC Worldwide Have you ever wondered why were inclined to live in clean and organized spaces? Is it a genetic predisposition to avoid illnesses, or is there another reason? While the exact motivation for maintaining cleanliness remains...
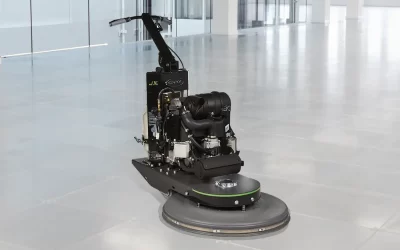
Achieving a Brilliant Finish: Polishing Concrete Floors with Onyx Propane Floor Grinders & Polishers
Achieving a flawless and durable finish when polishing concrete floors is contingent upon utilizing the right equipment, and Onyx brand Propane Floor Grinders & Polishers stand out for their efficiency in this regard. The meticulous process begins with thorough...
Propane Powered Floor Maintenance
Propane powered floor buffing machines were introduced to the cleaning market in the 1970’s. The need remains to do more with less and propane powered equipment helps to maximize results and increase worker productivity. Propane powered burnishers allows cleaning...
Enhance your cleaning process to prevent cross contamination especially during cold and flu season.
One of the many challenges facing cleaning professionals is the issue of cross contamination. Managers and supervisors must continually encourage their cleaning staff to use proper cleaning methods to reduce and eliminate cross contamination. Cross contamination is...

A Family-Owned, Small Business Q&A
The following are a series of questions asked of Frank De Rosa about his family-owned, small business. What are the origins of your business and how did it all start? I have always wanted to be in business for myself. I was tired of working for other people giving...
Floor Care
Floor care is important for your mage to your customers, guests, and employees. Do your floors look like you care about the image you present to people coming to your location? If it is, let us know, we can help. And don’t forget the mats! [gallery...
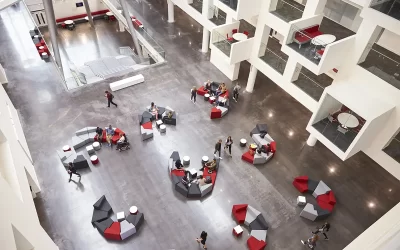
Maintaining a Healthy Work Environment: Cleaning and Disinfecting Frequency for Commercial Offices and Facilities
Keeping employees healthy and workspaces clean is not new or novel. Recent worldwide events have created a heightened awareness of health and hygiene. The importance of regular cleaning and disinfecting to maintain a healthy work environment cannot be overstated. It...
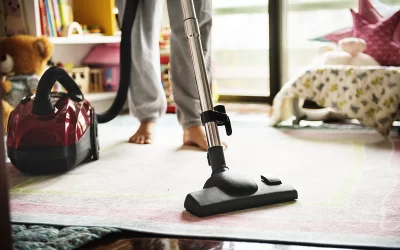
Maintaining a Healthy Home: Cleaning and Disinfecting Frequency
In an era where health and hygiene are paramount, the importance of regular cleaning and disinfecting cannot be overstated. Maintaining comfort in our homes keeping surfaces free from harmful bacteria and viruses is essential for the well-being of family members. In...
Please give us a call for pricing and questions about specialty products!
1135 N. McQueen Rd. Suite 143
Gilbert, AZ 85233
HOURS: MON - FRI 8:00 AM - 4:30 PM

